
 EN
EN
Brace height —also called bracing height, and in Spanish often fismele, fistmelle or distancia de encordado— is the perpendicular distance between the string and the throat of the grip or pivot point with the bow strung. It is not a “decorative” figure: it changes when the arrow separates from the string, how much it flexes on departure, the effective length of the power stroke, and with it speed, grouping, stability, noise and vibration.
Practical rule: in recurve and traditional bows it is usually adjusted with twists in the string; in compound bows you normally work around the geometry set by the manufacturer and any deviation requires checking string/cable length, draw length, draw weight, timing and, if present, the peep sight. A low brace height usually gives more speed and less tolerance; a high one, less speed and more comfort/forgiveness. The valid reference is always the manufacturer’s, measured with a bow square or bow square, and fine-tuned in small changes.
Definition and terminology
World Archery defines bracing height as the distance between the string and the pressure point —or the point indicated by the manufacturer— with the bow strung. In modern recurve manuals it is usually described as the perpendicular distance from the string to the pivot point or throat of the grip. In Spanish, several spellings inherited from English coexist —fistmele, fistmelle, fismele—, but today brace height is the clearest international term. The word fistmele comes from fist + mele/meal (“measure”) and originally referred to the width of a fist with the thumb extended, approximately 7 inches.
The useful concept for the archer is not “how much separation there is”, but “at what point in the release cycle the arrow stops receiving thrust”. That is why two bows with the same absolute brace height can feel very different: bow length, limb or cam geometry, arrow mass, string material and type of release all have an influence. The “optimal brace height” is not the fastest one, but the one that leaves the bow smoother, more consistent and quieter within the valid range.
The basic measurement diagram, derived from the World Archery, Hoyt and WNS manuals, is this.
Throat of the grip / pivot point
        │
        │ perpendicular distance
        ▼
String with the bow strung

Equivalent alternative in recurve:
centre of the pressure button → string
What changes physically and biomechanically
Easton sums up the phenomenon very well: brace height determines the exact point at which the arrow separates from the string and the amount of flex the arrow has at that moment. In recurve, raising it shortens the power stroke, usually reduces speed somewhat and makes the arrow behave dynamically “weaker”; lowering it does the opposite and tends to “stiffen” the dynamic spine. WNS quantifies the effect as a guide: in recurve, a 1/2" change can move speed by around 2.5 fps. Uukha sums up the practical trade-off: lower if you prioritise speed; higher if you prioritise stability and comfort.
Biomechanically, brace height interacts heavily with the type of release. Easton shows that with a finger release —recurve and longbow, and also compound with fingers— the arrow first flexes laterally; with a mechanical release aid in compound, the initial flex is usually more vertical. That explains why finger-shot bows tend to be more sensitive to the relationship between brace height, clearance, nocking point and dynamic spine.
In compound bows, today’s manufacturers still describe the classic trade-off: longer brace height = more forgiveness; shorter = more speed. For example, the same current compound goes from 6" and 348 fps to 6.5" and 343 fps when moving to a longer version; and a modern target range goes from 6.5" and 332 fps to 7.5" and 322 fps in the more stable version.
In noise and vibration, the “sweet spot” usually coincides with the cleanest launch configuration. WNS indicates that the optimal setting produces smooth action, good flight, tight grouping and quiet shooting; in traditional archery, Black Widow adds that apparent noise also depends on tone, arrow weight/spine and the setup itself, not only on the bow, which is why they recommend specific brace heights by model.
The physical trade-off can be summarised as follows.
Low brace height
  → Longer power stroke
  → More potential speed
  → More sensitivity to errors, noise and clearance

High brace height
  → Shorter power stroke
  → Less speed
  → More stability, comfort and tolerance
How it is measured and what a useful tolerance is
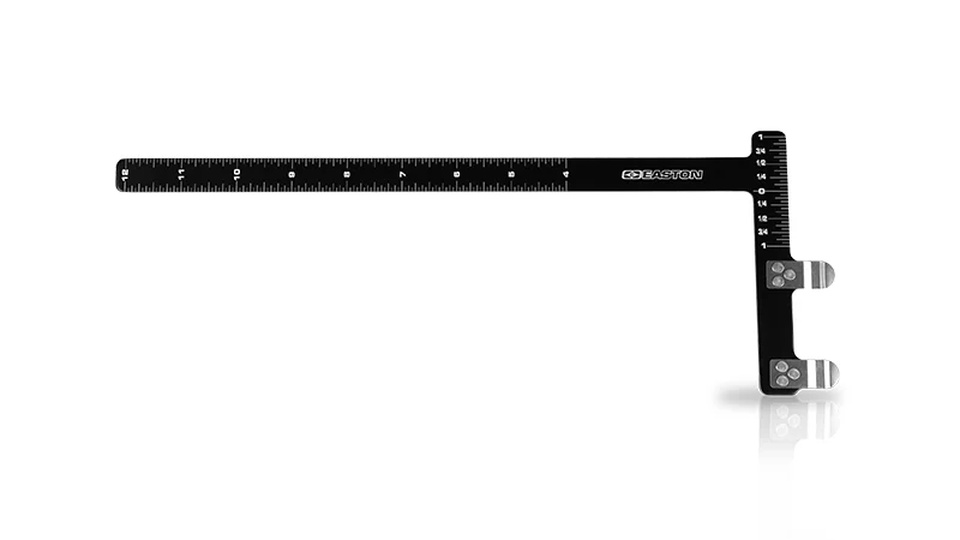
The standard tool is the bow square or bow square/T-square, which clips onto the string and rests gently on the arrow rest; it is used to measure brace height and also the height of the nocking point. World Archery defines it exactly this way. To measure, always use the same reference: throat of the grip/pivot point; in recurve, the line of the centre of the pressure button is also accepted. In longbow/traditional, many manufacturers explicitly speak of “string to throat of grip”.
The useful tolerance is not universal: it must be the manufacturer’s. World Archery recommends keeping brace height within those tolerances; Uukha proposes a ±10 mm window around the recommended value; Hoyt and WNS publish ranges by bow/limb length. In fine tuning, Easton advises starting at the lower end of the range, adding 3-4 twists to the string, shooting and repeating until the smoothest and quietest setting is found. With new strings, World Archery suggests initially leaving the brace height about 3 mm high because, as the string settles, it will tend to drop.
| Type of bow | Measurement reference | Useful indicative ranges | Practical reading |
|---|---|---|---|
| 70" recurve | Pivot point / throat | 22–24 cm; Uukha 225 mm ±10 | Very common in long Olympic recurve |
| 68" recurve | Pivot point / throat | 21.5–23.5 cm; Uukha 218 mm ±10 | The most frequent “standard” size |
| 66" recurve | Pivot point / throat | 21–22.8 cm; Uukha 211 mm ±10 | More compact, somewhat livelier |
| Short/performance compound | Manufacturer geometry | 5.5"–6.5" | More speed, less tolerance |
| Long/target compound | Manufacturer geometry | 6.5"–7.5" | More stability and forgiveness |
| Longbow/traditional | String to throat of grip | ~7"–7.75" in modern longbows; many Bear traditional bows, ~7"–8" or more depending on model | Prioritises smoothness and silence |
Assumption for the table: a mix of ranges published by manufacturers for 66/68/70" recurves, current compounds and longbows/traditional bows; the final value depends on string, arrow mass/spine, real draw length and release style.
Practical adjustment by discipline
Brace height in recurve bow
In recurve, brace height is a first-order fine-tuning adjustment. Start in the centre or lower part of the manufacturer’s range and change only one variable at a time: 3-4 twists, several ends, listen to the sound and look at grouping and flight. If, when touching the tiller, you change the balance of the limbs, remember that Hoyt warns that tiller adjustment also moves the position of the nocking point; therefore, after touching tiller, the nocking point must be checked again. As a starting point, World Archery proposes the nocking point about 5 mm above square, although in beginner setups 6-10 mm may be seen depending on the string grip.
The most important compensation in recurve is usually not with the sight but with the arrow-string system. Easton indicates that raising brace height weakens the dynamic spine and lowering it stiffens it; even within normal ranges it can be equivalent to changing around 20 grains in the point/insert. Practical translation: before cutting arrows “to final length”, it is advisable to settle brace height, nocking point and clearance; otherwise, you may force yourself to correct later with arrow length, point weight or pressure button when the real problem was in the string.
Brace height in compound bow
In compound, think first in terms of “geometric specification”, not “tuning by feel”. Easton reminds us that changing brace height also affects draw length and draw weight, and Hoyt indicates that if brace height is outside factory specification, the correct thing to do is to verify string and cable lengths before touching anything else. For arrow selection, Easton treats a compound with brace height below 6.5" as if it had about 5 lb more calculated weight: a clear sign that a low brace requires a stiffer spine. And if there is a peep sight, finish it at the end: Bowtech recommends letting the string settle for 100-150 shots and then correcting peep alignment with 1/2-turn twists; Mathews precisely boasts of strings designed to minimise peep rotation.
Brace height in longbow and traditional bow
In longbow and traditional, the ruling criterion is simple: clean shot, little hand shock and low tone. Bear’s traditional manual defines brace height as the distance from the string to the deepest cut of the grip and gives many models in the 7"–8" range, with variations depending on recurve or longbow; Black Widow publishes 7"–7.75" in a current reference longbow. If the bow “barks”, do not blame only the fistmele: Black Widow points to arrows that are too light or badly spined, a worn string and arm interference as common causes.
Risks and common mistakes
The typical mistakes are very repetitive: measuring sometimes from the throat and other times from another part of the grip; working outside the manufacturer’s range; changing brace height and tiller at the same time without recording anything; leaving the string with too few or too many twists; twisting it in the direction that loosens the serving; or touching a compound outside specification without checking timing, string/cables and peep. For safety, recurve and traditional bows should be strung with a bow stringer, not with “step-through” or “push-pull” methods. And leave clearance for the nock: if it is pinched between the two nocking points, Easton warns of excessive pressure and even the risk of premature release; 1–2 mm of clearance is a reasonable reference.
Adjustment and diagnosis diagram
This flow summarises the safest and most effective sequence; it combines recommendations from World Archery, Easton, Hoyt and traditional manuals.
1. Measure brace height with a bow square
   ↓
2. Is it within the manufacturer’s range?
   ├─ No:
   │   ├─ Recurve/longbow: add or remove twists from the string
   │   └─ Compound: return string/cables to specification
   └─ Yes:
       ↓
3. High noise, vibration or hand shock?
   ├─ Yes:
   │   └─ Raise brace height slightly within the range
   │      and check arrow mass/spine
   └─ No:
       ↓
4. Does bare shaft/paper indicate a weak or stiff arrow?
   ├─ Weak:
   │   └─ Lower brace height slightly
   │      or stiffen the arrow system
   └─ Stiff:
       └─ Raise brace height slightly
          or soften the arrow system

5. Check nocking point, tiller and clearance
   ↓
6. Is it a compound with peep?
   ├─ Yes:
   │   └─ Check timing, draw length,
   │      draw weight and peep rotation
   └─ No:
       └─ Validate with several ends and record the setting
Conclusions and recommendations
For beginners, the recommendation is conservative: stay in the middle zone of the manufacturer’s range, always measure with a bow square and do not chase speed. For intermediate archers, brace height is a very useful lever for cleaning up grouping and reducing noise, but only if you change one variable at a time and record the result. For advanced archers, fistmele is a compatibility tool between bow, string and arrow: in recurve it can help tune dynamic spine and clearance; in compound, confirm geometry and forgiveness without leaving the spec; in longbow, find the “quiet” bow without hand shock. The best practical definition remains the classic one: the correct brace height is the one that leaves the bow smooth, consistent, with good flight and quiet enough.
Base sources used
Base sources used: World Archery, Hoyt, Easton Archery, Uukha, WIAWIS, Mathews Archery, Bowtech and Black Widow Bows.